How to Operate a Mini Excavator Safely: 8 Best Practices

Mini excavators are one of the easiest pieces of heavy equipment to learn how to use and operate. On top of that, they have a small footprint, are low-cost to operate, and every homeowner has the ability to rent one for a landscaping project or utility renovation.
Mini excavators aren’t a one-size-fits-all. There are heavyweight excavators to dig into large landscaping projects and then more compact models for smaller digs. Ensure you have the correct size for what you need to do. You may want to consult with your local rental business regarding what they would recommend.
Here are the eight ways on how to operate a mini excavator:
1. Look Over the Operator’s Manual

In order to operate a mini excavator, it’s always a good idea to read the manual first. Every mini excavator comes with an instruction manual indicating the location of the controls. Even if you have used a mini excavator in the past, there are slight differences in where certain controls are placed. For beginners, the operator’s manual will also have a description of each control. If you have excavator attachments implemented, you will also need to read over the manual for each component as well.
2. Examine for Any Damage or Hazardous Risks

Even experienced mini excavator operators should bring the mini excavator to a level ground and try it out. A mini excavator is built to be very stable, however, they can be overturned operating in the wrong conditions. Ensure you are comfortable with the controls and a mini excavator’s operation before moving forward with your project.
Look around the mini excavator. If you note any loose or damaged parts, oil or fluid leaking, damaged tracks, or anything else that could indicate danger, don’t go forward with using it. Discuss these hazards with your supplier. While completing this safety check, also check the lubricant and coolant levels.
3. Mount the Machine and Sit Down

There is an arm rest on the left that should flip up on the left side of the mini excavator to allow access to the seat. Are you are seated, pull the left armrest back down and then lock it in place with the release lever.
Familiarize yourself with what’s in front of you. The ignition key will be on the console on the right side or overhead. Note where the engine temperature, oil pressure, and fuel level indicators are as well. Put on your seatbelt.
4. Grab the Joystick
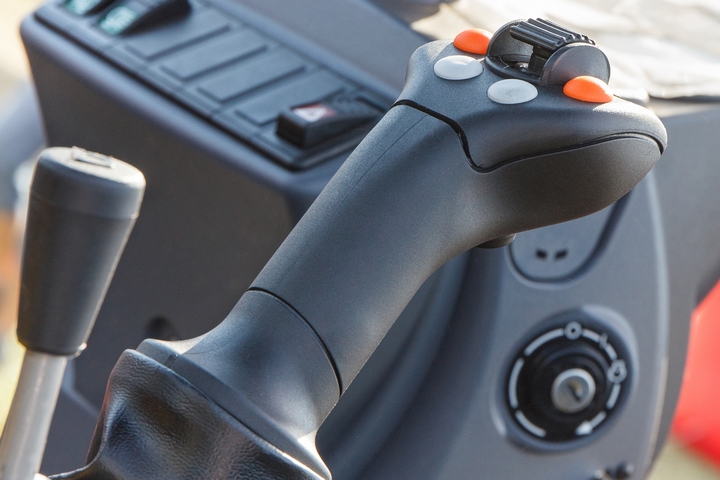
Grip the joystick. This moves the hoe and machine rotating function. When released, they will return to a neutral position. Next, look at the two steel rods with handles to each side of your legs. These are steer controls. Each controls the rotation of the track of the side it is on. When a rod forwards, the machine turns in the opposite direction. Pull the same rod backwards and the machine turns in the direction the stick is pulled. The farther you push or pull, the faster the machine’s going to move.
5. Two Floorboard Controls
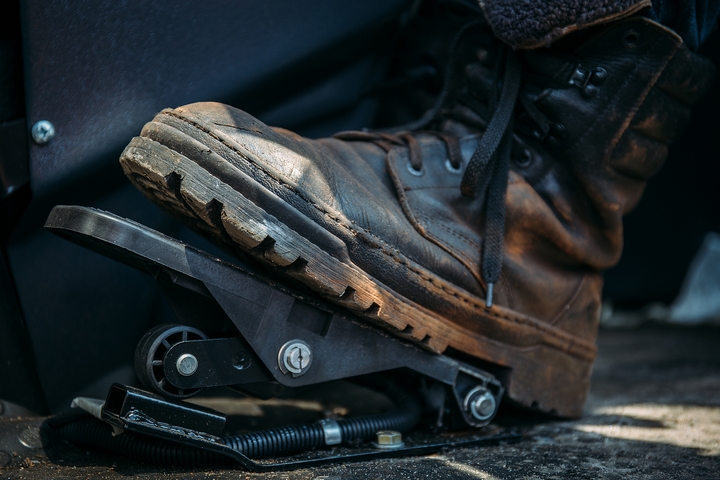
On the left, you will see a small pedal which is the high-speed control. This is meant to be used across smooth, level terrain. On the right, there is also a two-way pedal which can pivot the hoe left or right so that you don’t have to swing the machine to reach the location you need. Floorboard controls aren’t meant to be used often and should only be activated on safe, level ground.
6. Start Your Engine
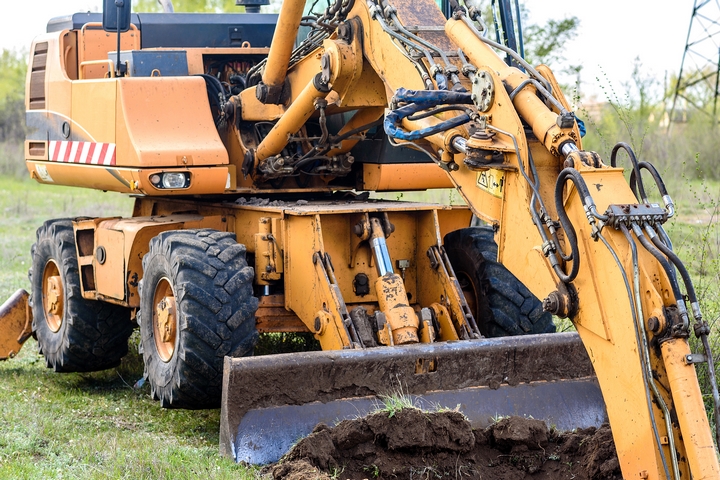
Once you have your engine on, be careful not to accidentally bump any of the controls mentioned. Start by maneuvering your front blade and hoe. Raise both and push the steering forward. Move the machine around a bit to get the hang of its speed and handling.
7. Activate the Digging Function
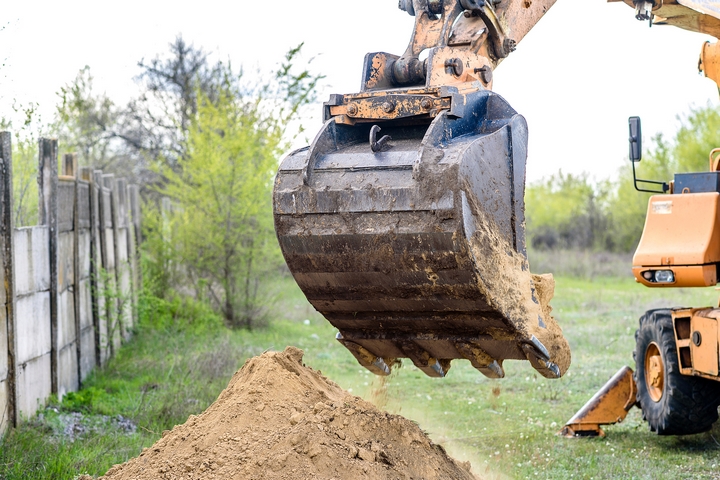
The joystick on the armrests control the boom, pivot, and bucket motion. A switch behind or immediately beside the left side of the seat on the floorboard will put it either in ‘backhoe’ or ‘trackhoe’ mode. Lower the dozer blade pushing forward the control handle on your right until the blade is firmly on the ground. Move the joystick left and you pull the bucket in to scoop. Afterward, move the joystick right and dump the contents of the bucket.
8. The Left Joystick
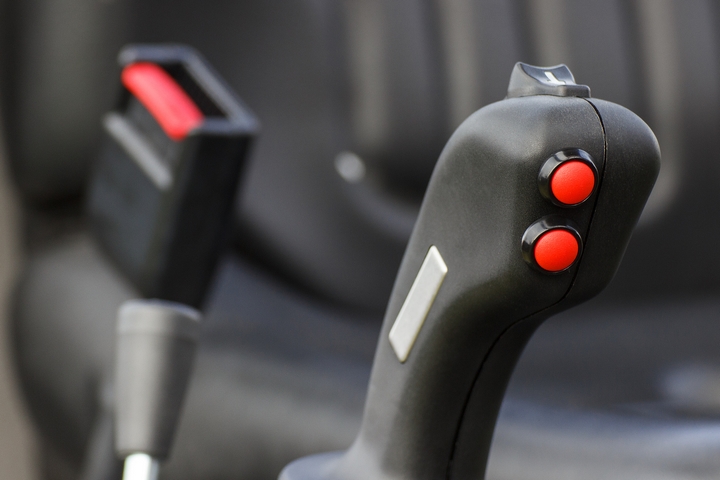
When you have the hang of how the right joystick works, go to the left joystick. Moving it in the outer boom will swing back and away toward you. When you move the left joystick to the left, the complete cab of the machine will rotate on top of the tracks to the left. Ensure you’re moving slowly. Without a feel for the power of the joystick, it’s easy to rotate the machine too suddenly.
After some practising, you should have a decent feel for how the machine moves. For any beginner, remembering the controls and watching the bucket do its job is the best way to avoid damage or hazards.


